This may seem like a very specific post but it’s actually applicable to anyone using Amazon CloudFront that wants to invalidate multiple files that all sit inside one directory. Invalidating is the same thing as purging so basically you’re telling CloudFront to “purge” the last version of the file it got for hosting on the CDN and replace it with a new one.
I recently went through on one of my sites and resized and optimized all of the images. That’s hundreds of images by hand! And when you re-upload them to WordPress the system automatically creates a medium and thumbnail sized image so it multiplies the number of images being stored in the wp-content/uploads folder.
Before optimizing and re-uploading the files, I had to download them all and delete them from my server because I planned to re-upload with the same exact name and if you don’t delete the original file, WordPress just appends a -1 to the end of the new one so you end up with two files such as file.jpg and file-1.jpg and that’s a waste of space. So yeah, this was very tedious but worth it for SEO and organization reasons.
The real frustration I had was that after manually downloading, resizing and then uploading the files to WordPress, the plugin W3 Total Cache (which I have setup to use with Amazon CloudFront as the CDN) wasn’t updating the images. So all of my posts still had the old large sized images because the CDN saw that my new files had the same name. I tried clearing the caches, forcing uploads of all the files etc. but the images weren’t getting updates.
So I searched and searched and finally figured out this solution:
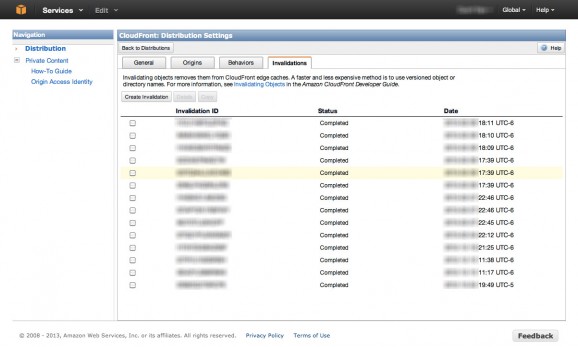
- You have to login to the AWS Management Console and click on CloudFront
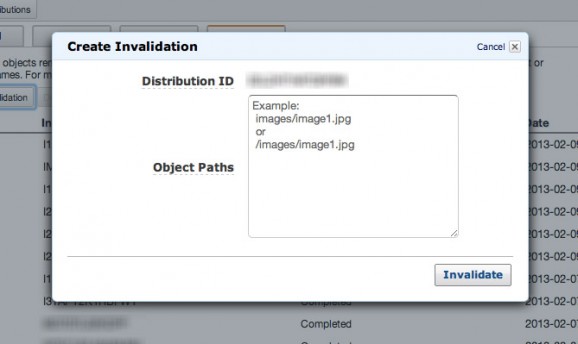
- Go to Distribution Settings for the distribution you’re interested in then click on the Invalidations tab and click “Create Invalidation”. This is where you need t past a full list of the paths to the files you want to update.
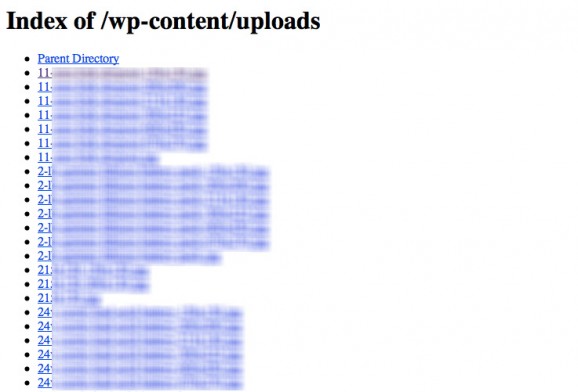
- If you’re using WordPress like me, you can just go to yourdomain.com/wp-content/uploads/ and hit enter in your browser. This lists all of the files in the directory and you can highlight them, copy and paste into the second column of Excel.
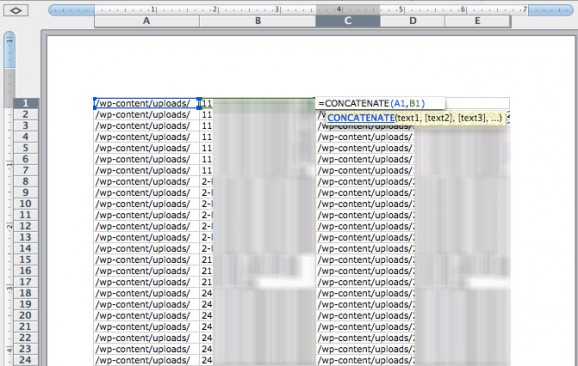
- Once you’ve pasted the long list of files into Excel you can concatenate /wp-content/uploads/ with the column cells you pasted into. In column C type something like =concatenate(A1,B1) as shown in the screenshot below. Then just drag to highlight all of those cells and copy, paste right into the “Create Invalidation” input box on the CloudFront Management Console!
- Note that you can only paste 1,000 at a time and that anything over 1,000 will cost you extra money, something like $0.005 per invalidation, so an additional 1,000 files will be $5.
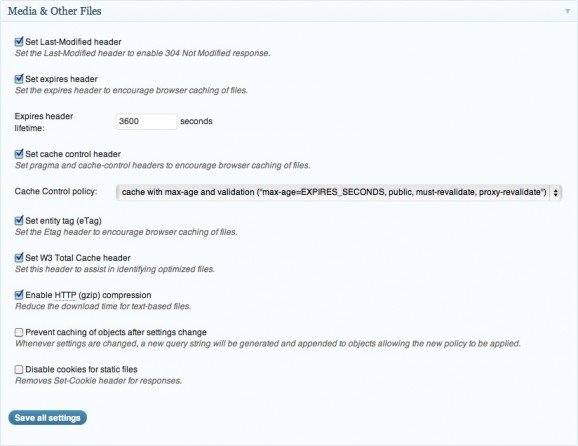
- The other thing you want to do is go into the W3 Total Cache plugins admin area under the “Browser Cache” section and scroll down to the “Media and Other files” area. Replace the “Expires header lifetime:” input that says 31536000 with 3600 then leave it for a day or two, until Google crawls the site… then switch it back. This will break the cache for anyone who returns to the site (including SE’s) faster so they get the new content sooner.
That may seem like a lot of steps, and there may be other ways to scrape the list of file paths using your console but this is how I’ve done it.
Step 1. Navigate to the directory where your files are listed. I used Safari to do this, some directories may be hidden or not accessible. There may be another way to scrape the list of paths.
Step 2. Paste the list of file names into the second column of Excel, concatenate with wp-content/uploads (or whatever path your directory is relative to the root of your site)
Step 3. Log in to your CloudFront Management Console, select the distribution you want and go to its settings page, click “Create Invalidation” and paste up to 1,000 paths from Excel in to be invalidated.
Step 4. Back in the WordPress admin area, navigate to the section for W3 Total Cache > Browser Cache > Media and Other Files. Update the Expires header lifetime value from 31536000 to 3600 and then save. Leave it for a few days then change it back. This helps bust the cache of the page so search engines and viewers see the updated content.
